The Ultimate Leaking Chimney Flashing Checklist: 12 Signs to Watch For
What if the water spot on your living room ceiling isn’t a simple roof leak, but a sign that your chimney’s protective seal has failed? It’s a common frustration for many homeowners in the Poconos, where heavy snow and freeze-thaw cycles put immense pressure on your roof’s most vulnerable joints. Identifying leaking chimney flashing early is the difference between a straightforward repair and a massive bill for structural wood rot. You likely already know that water is your home’s greatest enemy; the anxiety of a hidden drip can make every rainstorm feel like a ticking clock.
We understand the confusion that comes with trying to tell the difference between masonry issues and flashing failures. This guide promises to clear up that mystery by providing a comprehensive 12 point inspection checklist designed for the proactive homeowner. We’ll show you exactly what to look for from the ground and in the attic to catch problems before they escalate. We also cover how the 2026 updates to Pennsylvania’s Uniform Construction Code affect your chimney’s safety standards. By the end of this article, you’ll have the steady confidence to spot the warning signs and protect your home’s value.
Key Takeaways
- Learn to identify the three critical components of your chimney’s seal—step, counter, and base flashing—to understand how they work together to keep water out.
- Discover how to safely spot leaking chimney flashing from the ground using binoculars to find “daylight” gaps where metal has pulled away from the masonry.
- Master the “Attic First” rule to catch hidden moisture trails and rotted wood sheathing before the damage reaches your finished ceilings.
- Understand why common quick-fix sealants often fail during Pennsylvania winters and what a permanent, professional flashing replacement involves.
Understanding Chimney Flashing and Why It Fails in Pennsylvania
Chimney flashing serves as the critical barrier between your roof’s asphalt shingles and the vertical masonry of your chimney stack. Think of it as a waterproof bridge. Without it, water would flow directly into the gap where the roof meets the brick. For many homeowners, Understanding Chimney Flashing is the first step toward diagnosing a mystery drip. It’s easy to assume you have a standard shingle problem, but leaking chimney flashing is a unique failure that requires a specific mechanical fix rather than just swapping out a few shingles.
In the Poconos, our weather creates a perfect storm for flashing failure. We experience rapid temperature swings that cause metal to expand and contract at different rates than the brick it’s attached to. These shifts put immense stress on the seals. Pennsylvania recently adopted the 2021 International Code Council series as part of the state’s Uniform Construction Code, effective January 1, 2026. These updated standards emphasize more stringent requirements for chimney construction and lining, reflecting how critical these seals are to your home’s structural integrity.
The Anatomy of a Watertight Chimney Seal
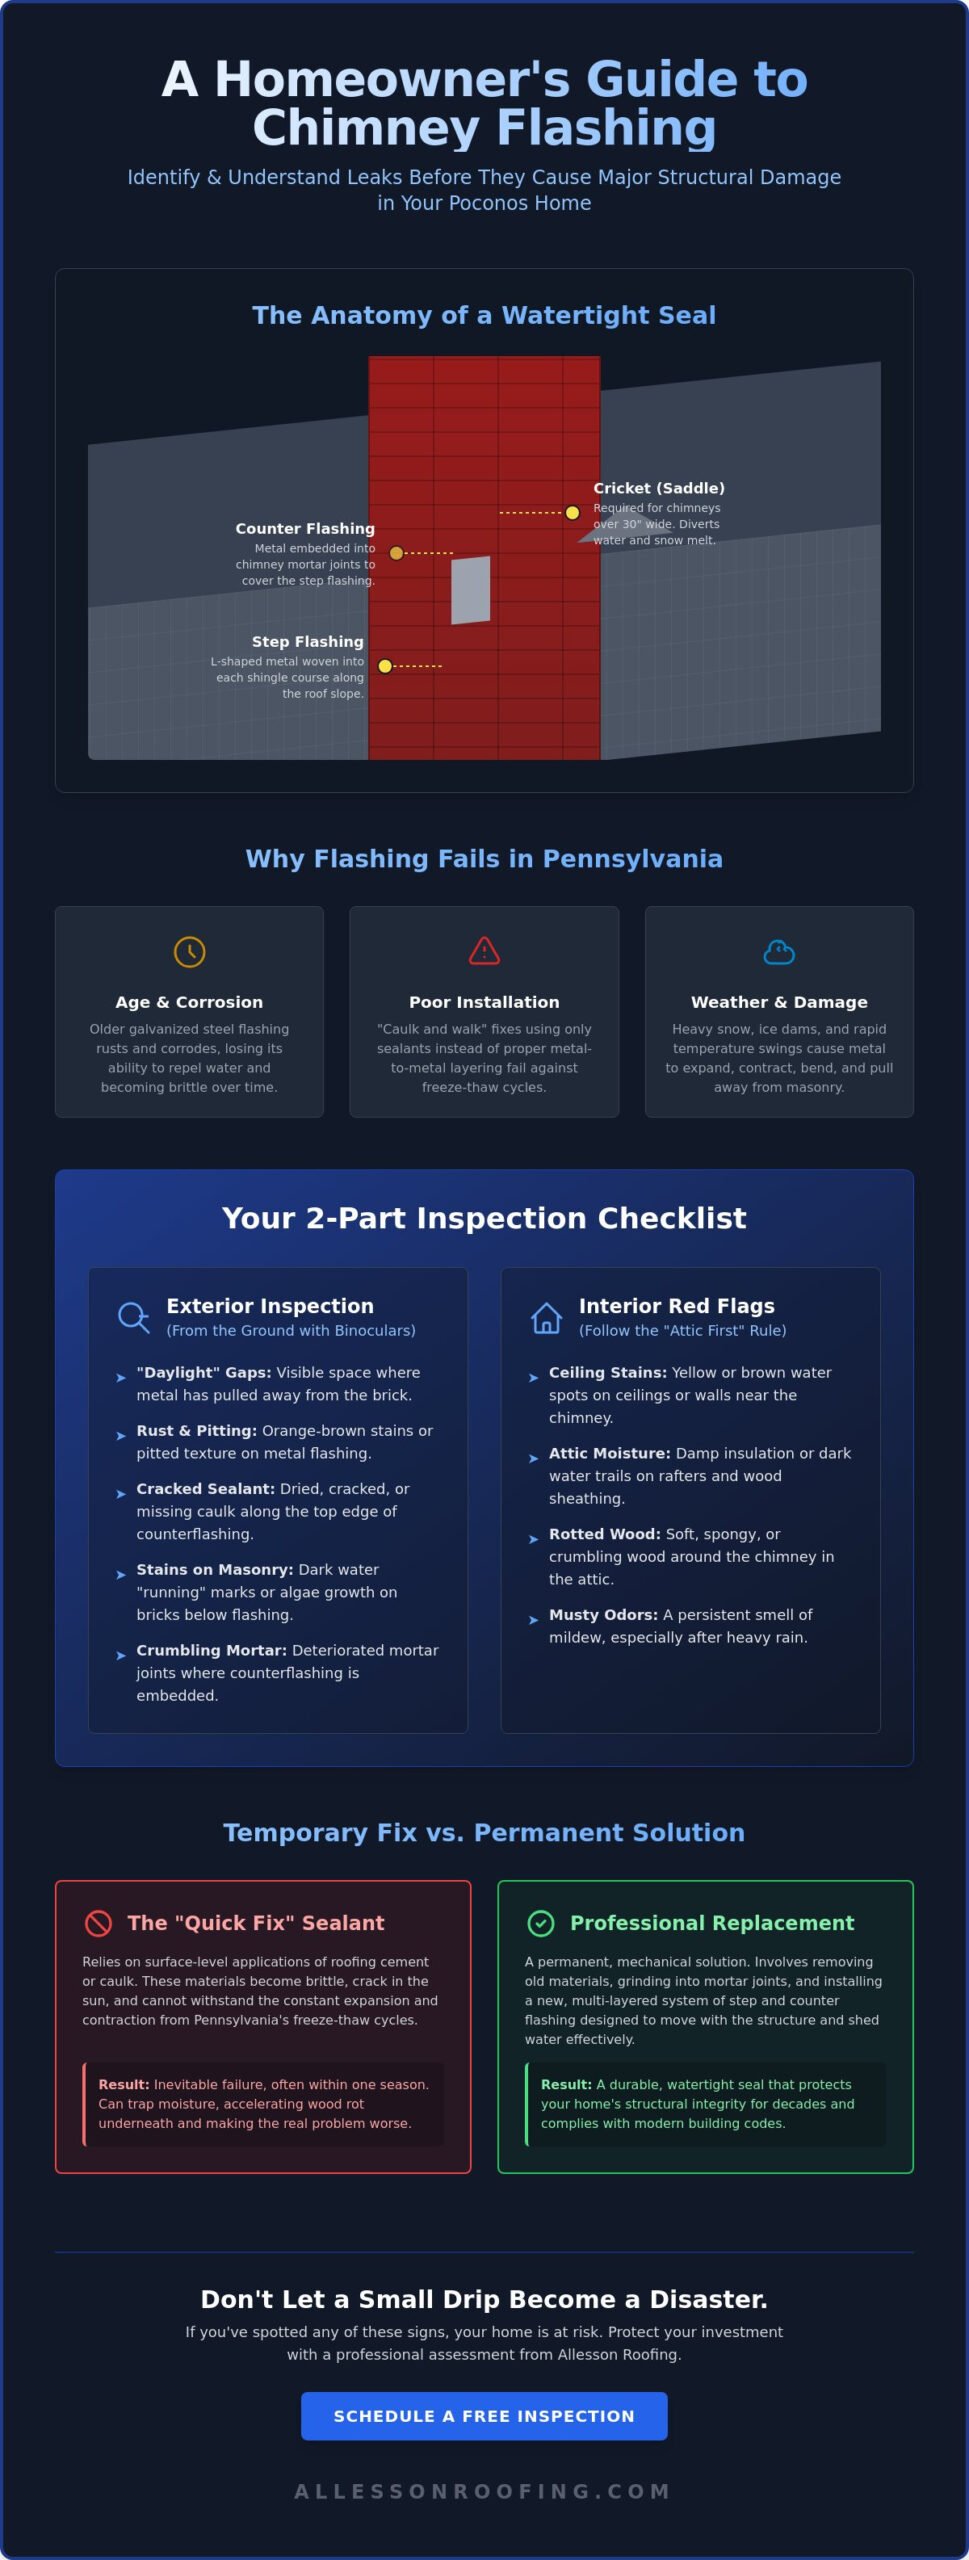
A proper seal isn’t just one piece of metal. It’s a system. Step flashing consists of L-shaped metal pieces woven into each layer of shingles. Counterflashing is the second layer, which is actually embedded into the chimney’s mortar joints to overlap the step flashing. For chimneys wider than 30 inches, a “cricket” or saddle is often required. This peaked structure sits behind the chimney to divert water and snow melt around the sides rather than letting it pool against the back wall. If any of these components are missing or misaligned, you’ll likely deal with leaking chimney flashing sooner rather than later.
Top Causes of Flashing Failure in the Poconos
Why do these systems fail? Age is a primary factor. Older galvanized steel flashing eventually succumbs to corrosion and rust, losing its ability to repel water. In our region, mechanical damage from heavy snow sliding off a steep roof peak can also bend or pull metal away from the brick. Perhaps most common is poor initial installation. We often see cases where a previous “repair” relied solely on thick layers of roofing cement or caulk instead of proper metal-to-metal layering. These “caulk and walk” fixes don’t stand a chance against a single Pennsylvania winter. If you’re seeing water stains inside, it’s time to check out our other guides on the Allesson Roofing blog to learn more about protecting your home.
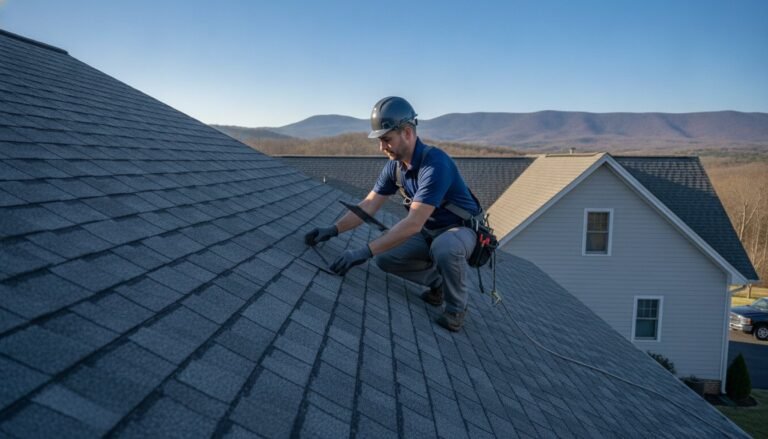
The Exterior Inspection Checklist: Spotting Flashing Gaps from the Ground
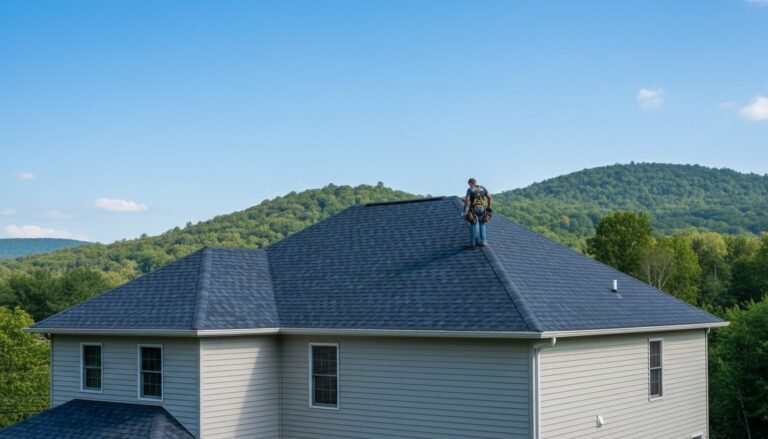
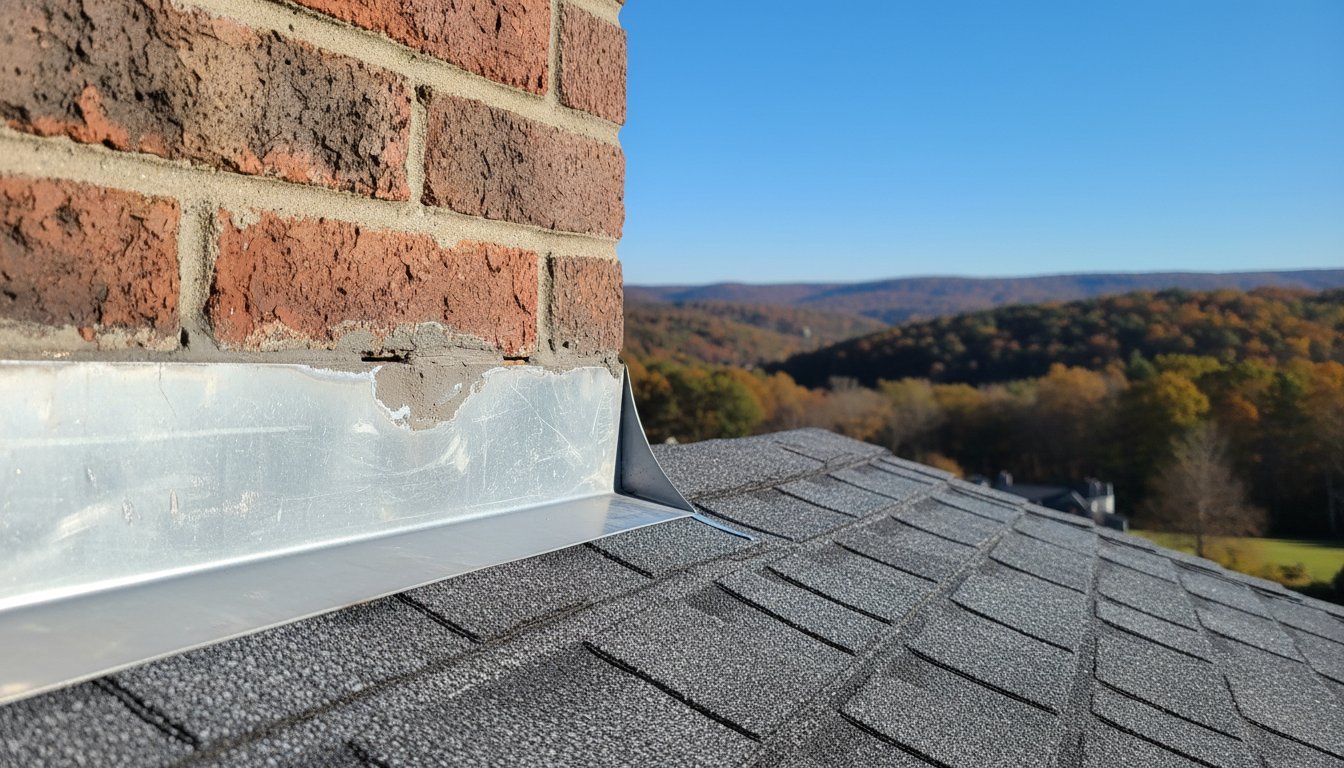
You don’t need to climb a ladder to get a clear picture of your roof’s health. In fact, we recommend staying safely on the ground. Grab a pair of binoculars and step back into your yard to get a wide-angle view of your chimney stack. Spotting the early signs of leaking chimney flashing from the ground is surprisingly simple once you know what to look for. Focus your attention on the transition point where the metal meets the brick. If you can see “daylight” gaps or spaces where the metal has pulled away from the masonry, your seal is already compromised.
Pay close attention to the texture and color of the metal components. Rusted or pitted metal indicates that the protective coating has failed, leaving the material vulnerable to the Poconos’ heavy rain and melting snow. You should also examine the top edge of the counterflashing for any dried, cracked, or missing caulking. If you notice these issues along with broader wear and tear across your shingles, you might want to check out our guide on signs you need a new roof to see if the problem extends beyond the chimney area.
Visual Cues on the Chimney Masonry
The brick itself often tells the story of a leak before the water even reaches your ceiling. Look for dark water stains or “running” marks that trail down the brick below the flashing line. These are clear indicators that water is bypassing the metal barrier. You might also see moss or algae growth concentrated specifically at the chimney base. This happens when moisture stays trapped against the brick. Check the mortar joints as well; if they are cracked or crumbling where the counterflashing is tucked in, the metal can no longer do its job effectively.
Shingle and Sealant Red Flags
The area immediately surrounding your chimney should be uniform and flat. Curled, buckled, or missing shingles in this specific zone often point to leaking chimney flashing that has allowed water to soak the roof deck underneath. Be wary of large globs of roofing cement or thick black tar around the base. These are usually signs of a “band-aid” repair from a previous owner that is now failing. Finally, look for the kick-out flashing where the roof edge meets the chimney wall. If this small piece of angled metal is missing, water will pour directly into your siding. If these visual cues have you worried, it’s a good idea to reach out for a professional look before the next storm hits.
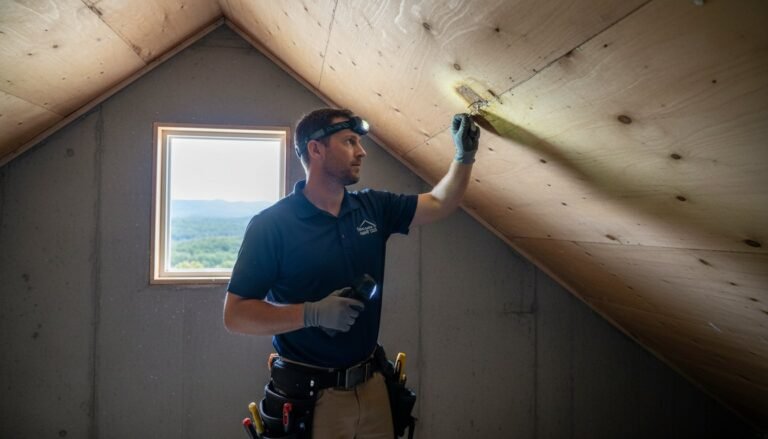
Interior Red Flags: Identifying Hidden Chimney Leaks Inside Your Home
By the time a water spot appears on your living room ceiling, the leak has likely been active for weeks or even months. To catch a problem before it turns into a major restoration project, we recommend following the “Attic First” rule. During or immediately after a heavy Poconos rainstorm, take a flashlight into your attic and examine the area where the chimney stack passes through the roof. This is the most effective way to confirm leaking chimney flashing before the water reaches your finished living spaces.
Focus your inspection on the wooden framing and the roof sheathing directly adjacent to the chimney. Look for dark, discolored wood or damp insulation, which are clear signs of moisture intrusion. You should also check the surface of the chimney masonry for “rust tracks.” These are reddish-brown streaks caused by water running over metal flashing and then bleeding onto the brickwork inside your home. If you notice a persistent musty odor in the upper floors or near the fireplace, it’s often a sign that moisture is trapped behind your walls, even if you can’t see the water yet.
Fireplace and Ceiling Indicators
Once water moves past the attic, it will begin to affect your interior finishes. Keep an eye out for yellow or brown water stains on the ceiling or the walls that share a border with your chimney. On the chimney breast itself, you might notice wallpaper peeling at the seams or paint that looks like it’s bubbling or blistering. Inside the firebox, look for actual dampness on the hearth or a sudden, sharp “ashy” smell after a storm. This scent occurs when moisture mixes with old soot and creosote, signaling that the seal at the roofline has failed.
Structural Warning Signs
If a leak goes unnoticed for an extended period, it can compromise the very bones of your home. Feel for soft spots in the flooring or subfloor near the chimney area, as water often travels down the exterior of the masonry and pools at the base. Visible mold or mildew growth in ceiling corners is another serious red flag that requires immediate attention. If you discover active dripping or significant structural damage during your check, you should consult our guide on emergency roof repair in the Poconos to understand your next steps. Don’t let a small drip turn into a massive headache; schedule a professional inspection to identify the exact source of your leaking chimney flashing and protect your home’s integrity.
Solving the Leak: Professional Repair Strategies and Prevention
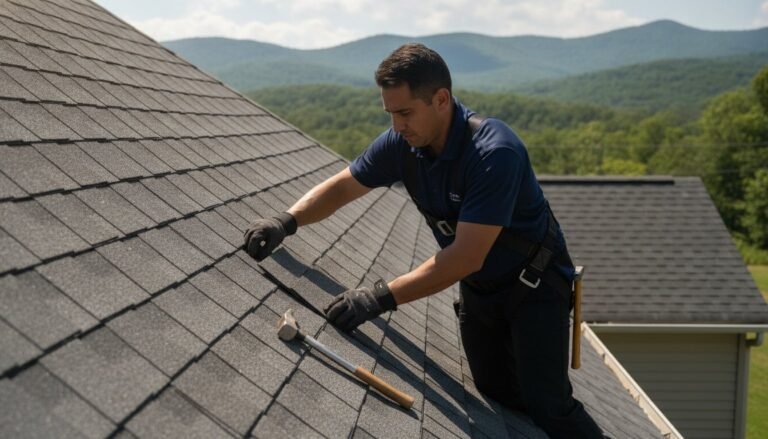
Many homeowners reach for a tube of roofing cement the moment they spot leaking chimney flashing. It seems like a quick and affordable fix. However, these “caulk and walk” repairs rarely survive a single Pennsylvania winter. The intense temperature swings in our region cause metal and masonry to expand and contract at different rates, which quickly tears the seal of even the best industrial caulk. Once that seal breaks, water often gets trapped behind the sealant, which can actually accelerate wood rot in your roof deck by preventing the area from drying out.
A permanent solution requires a mechanical approach rather than a chemical one. This professional strategy involves carefully removing the surrounding shingles and grinding into the masonry joints to install new, custom-bent metal flashing. We focus on creating a system where gravity does the work, ensuring water sheds naturally away from the chimney stack. While a minor mortar repair might fix a small gap, a full flashing replacement is usually necessary if the existing metal is rusted, pitted, or was never layered correctly to begin with. Before committing to any contractor quote, it helps to review a detailed cost to repair chimney flashing breakdown for PA homeowners so you understand what a fair price looks like in 2026.
In heavy snow zones like the Poconos, we also look at the “cricket” or saddle behind the chimney. A properly installed cricket acts like a snow plow for your roof. It diverts heavy snow melt and rain around the sides of the chimney rather than letting it pool against the back wall. Without this peaked structure, ice dams can easily form, forcing moisture under the shingles and through the flashing during the spring thaw.
Why DIY Flashing Repairs are Risky
Fixing a leak yourself is technically demanding and carries significant risks. One of the most common mistakes is improper shedding, where the metal layers are overlapped in the wrong order. This mistake can actually funnel water directly into your house instead of away from it. There is also the physical danger of working on high-slope roofs near the chimney stack. Most chimneys are located at the roof peak, which requires professional fall protection and specialized ladders. For a safe and lasting fix, it is best to utilize a professional chimney flashing repair service.
Preventative Maintenance for Stroudsburg Homeowners
Prevention is always more affordable than a major structural restoration. We suggest scheduling an annual roof inspection before the first deep freeze hits Stroudsburg. During these checks, ensure your chimney crickets stay clear of fallen leaves and pine needles. Debris buildup creates a natural dam that forces water to back up under your flashing. Staying proactive ensures your home stays warm and dry through the toughest winter months. If you aren’t sure about the state of your roof, contact Allesson Roofing for a professional chimney inspection to identify any vulnerabilities before the snow starts to fly.
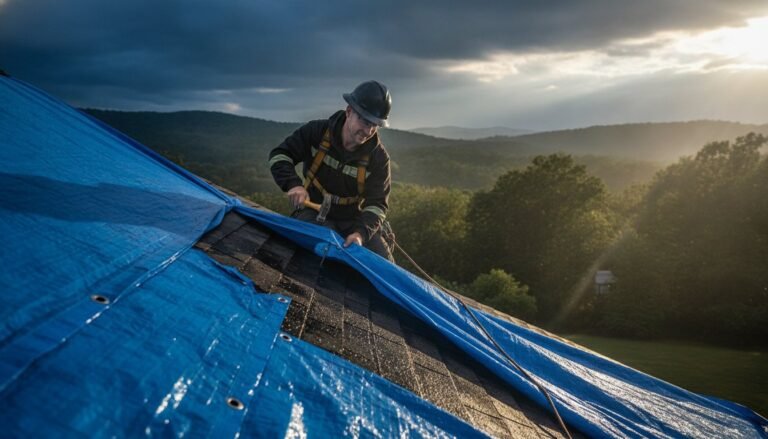
Protect Your Poconos Home Before the Next Storm
You now have the knowledge to identify leaking chimney flashing before a minor drip turns into a major repair bill. By combining ground-level observations with a thorough attic check, you can spot the warning signs of moisture intrusion and structural rot early. Remember that temporary sealants can’t replace a professionally installed, custom-bent flashing system designed to handle the Poconos’ heavy snow and ice dams. A permanent, mechanical fix is the only way to ensure your roof remains watertight through every season.
Our team brings deep East Stroudsburg expertise to every project, focusing on the specific roofing challenges our neighbors face. We are ready to assist with everything from routine maintenance to an emergency storm damage response. Don’t wait for a ceiling stain to grow into an expensive restoration project. Reach out to a dependable local partner who takes pride in protecting your home’s integrity. Schedule Your Professional Chimney Flashing Inspection Today to ensure your roof is ready for whatever the Pennsylvania weather brings next. Staying proactive today means a drier, more secure home tomorrow.
Frequently Asked Questions
Can I repair leaking chimney flashing myself?
While DIY kits are available, a permanent fix is difficult for most homeowners to achieve. It requires weaving metal into shingle layers and grinding into masonry joints to create a watertight seal. Improper installation often leads to trapped moisture and accelerated wood rot in your roof deck. We recommend leaving this to professionals who have the proper safety gear and specialized tools for high-slope work near the chimney stack.
How much does it cost to fix a chimney flashing leak in PA?
Repair costs depend on the chimney’s size, the materials used, and the extent of the existing damage. A small resealing job is less involved than a complete replacement of copper or steel flashing. You should also consider that Pennsylvania’s 2026 building code updates may impact how these repairs are performed on your specific home. For a transparent look at what PA homeowners are paying this year, see our detailed 2026 chimney flashing repair cost guide before contacting a local roofing professional for an accurate estimate tailored to your property’s needs.
Will homeowners insurance cover a leaking chimney flashing?
Insurance coverage typically depends on the specific cause of the leak. Most policies cover sudden, accidental damage from a storm or a falling tree limb. However, leaks caused by general wear and tear, age, or a lack of maintenance are usually excluded from coverage. It’s a good idea to review your specific policy and document any storm evidence before filing a claim for leaking chimney flashing.
How long does chimney flashing typically last in the Poconos?
High-quality metal flashing can last between 20 and 30 years, though Poconos weather often shortens this lifespan. The frequent freeze-thaw cycles and heavy snow loads in our region put extra stress on the seals and mortar joints. Galvanized steel may rust sooner than premium materials like copper or stainless steel. Regular inspections help you catch minor corrosion before it leads to a full system failure.
What happens if I ignore a small chimney leak?
Ignoring a small leak leads to expensive structural damage over time. Water that bypasses the flashing will eventually rot the roof’s wooden sheathing and the rafters in your attic. This moisture also creates a breeding ground for mold and mildew in your ceilings and walls. What starts as a minor drip can quickly turn into a major interior renovation if the leaking chimney flashing is left unaddressed for too long.
Is it the flashing or the chimney crown that is leaking?
It can be hard to tell the difference without a close look. Flashing leaks usually show up as water stains on the ceiling or walls directly adjacent to the chimney stack. A leaking chimney crown, which is the concrete cap on top, often causes damage inside the firebox or vertical cracks in the exterior masonry. A professional inspection can pinpoint the exact source to ensure you aren’t paying for a repair you don’t need.